You will need
envelopes (any size will do; bought or handmade)
glue
gesso
paint in the colours you like and white(acrylic)
wide paint brush and water for cleaning
stamps variety of designs a mixture of heavy and light, text and numbers work well too for this kind of design
heat gun and or patience
kitchen paper
stazon black or similar waterproof black ink
pages from a novel
embossing powder
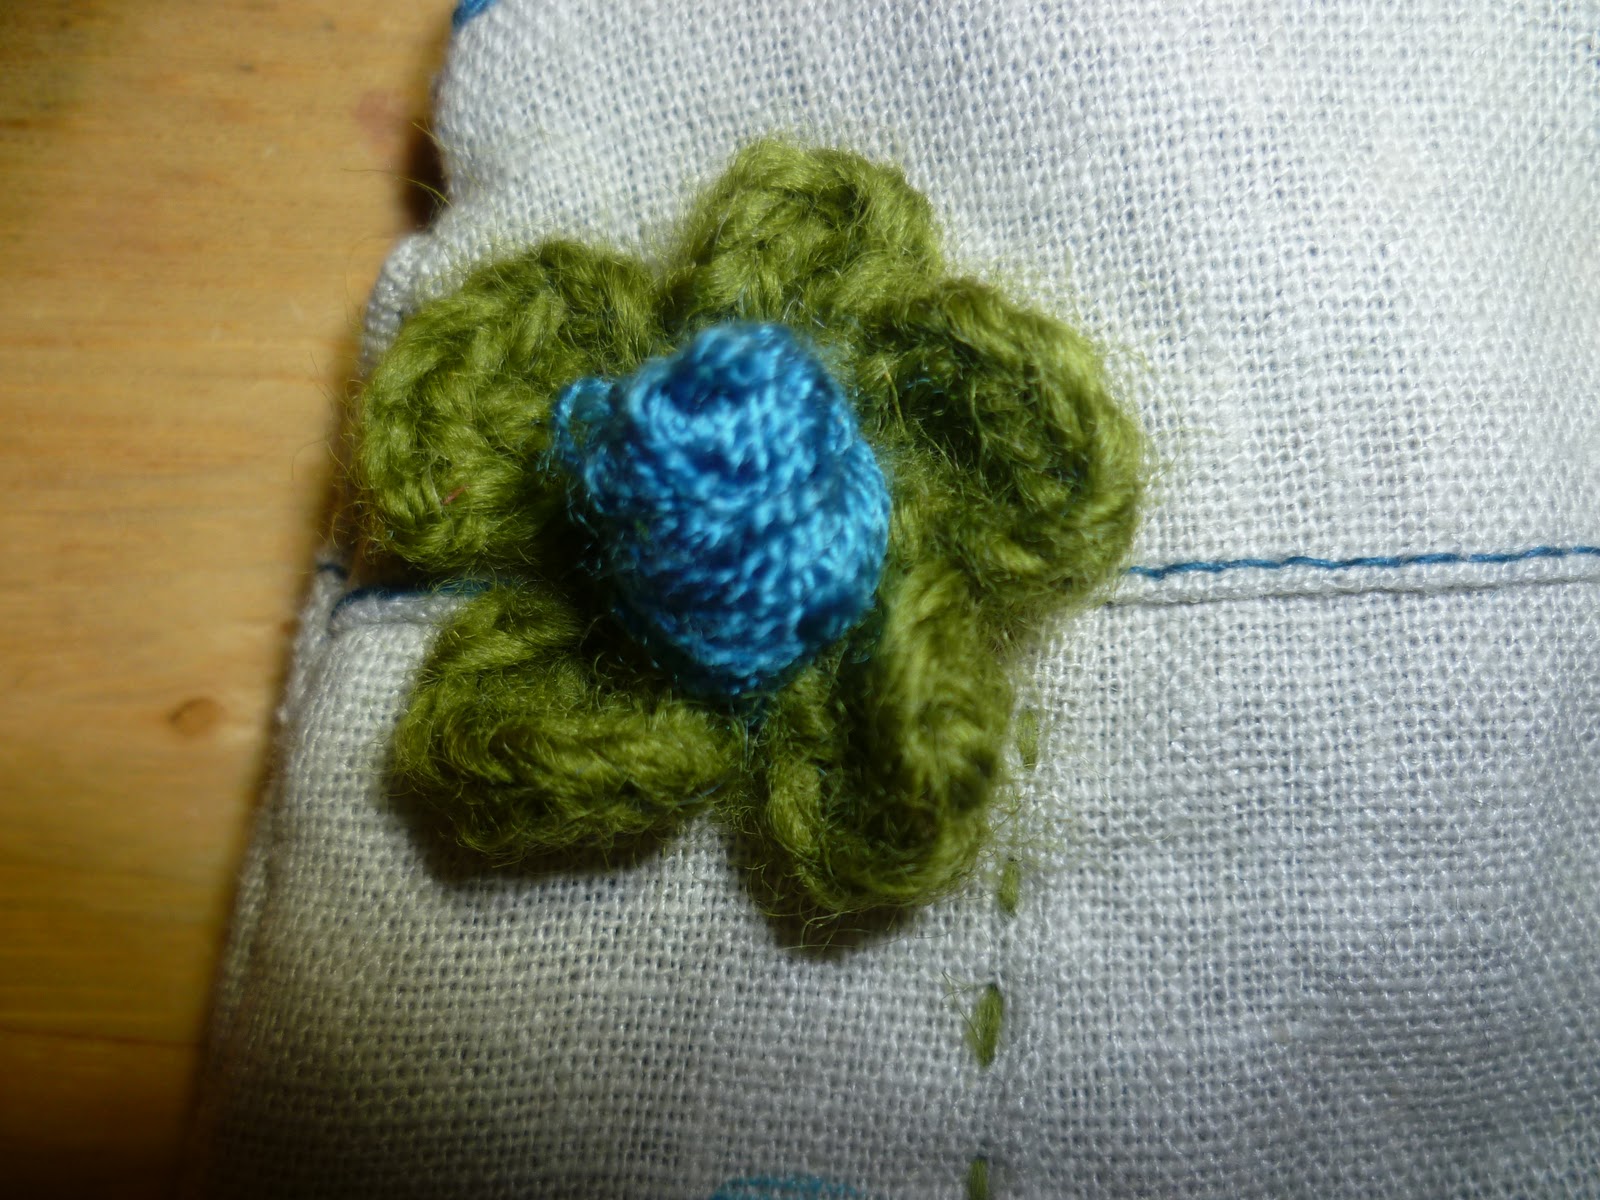
lace
thread
sewing machine
Step one
undo your envelope. Carefully lift the flaps at the back of the envelope and open as if one sheet.


Step two
use your wide paint brush to paint the surface with gesso. One layer should be enough even for a buff coloured envelope. Dry with heat gun or wait and wash your brush. Use kitchen paper to dry your brush.

Step three
dribble small amounts of one colour of you paint and spread. This should be an un even coat for the best effect. Use heat gun to speed up drying or wait. Add second colour and third repeating the process with the heat gun or waiting. Remember uneven coats work best. Aim for layers of colour as oppossed to one uniform colour.


Step four
Use heavy stamps at this stage with black ink. Stazon works well as we will continue to work the surface with paint. Stazon is not affected by water.

Step five
Dribble your masking fluid from a height so that large and small splashes are creates. Once you have a liberal amount of fluid, move you paper around so that drips and dribbles are formed. Think blow painting; straw watery paint and a three four or five year old. Go on make a mess. Aim for coverage as wide as possible. Keep turning your paper so that the direction of your drips and dribbles remains interesting. Use heat gun and or patience.


Step six
with your dry wide brush and white paint smear paint onto the surface working over paint layers, stamping and dry masking fluid. Work off most of the paint onto your paper towel and add a tiny bit of water to your brush so that the colour is wishy washy and smear. Go for that uneven coverage. Repeat as necessary. Do it until you like it. I find one coat works for me. Dry. Use a heat gun for speed and patience in all other instances.

Step seven
use your fingers to remove the masking tape. Repeat paint process in step six. Just one layer ought to dull the un-masked areas.


Step eight
More heavy stamping with that black stazon.


Step nine
Tear a page from your novel and continue to tear it down to label size. Position without gluing onto the front of the envelope. More dry paintbrushing with white paint over the new stamped images and the paper label shape. Dry with heatgun or wait.

Wash your brush but don't dry it. Choose your fave embossing powder. Dribble the water from your wet paint brush onto the paper and quickly add your embossing powder. It will take a while to go off. So be patient. I used Tim Holtz embossing powder which is distressed. I am not sure but I knocked it back with more white paint and I like it better now.

stamp with ink contrasting, complimentary or in black with finer images. I am useing a mixture of bought and hand carved. Stop when you are happy.
Step twelve
stitch around the entire face of the envelope. And add your lace trim. Stitching adds texture.
Step thirteen
glue all flaps back to their original position. Your envelope is now an envelope and a splendid example of MAIL ART.


Aside from your label for the address your envelope is now complete.